First, we’ll transform a photo into a series of circles. This is done by combining several filters.
Step 1
Open an image to edit.

Step 2
Duplicate the layer (Layer> Duplicate Layer or Ctrl+J).

Step 3
Select the new layer and apply a Mosaic filter (Filter> Pixelate> Mosaic) with a Cell Size of 8 square.

Step 4
Apply a Find Edges filter (Filter> Stylize> Find Edges).

Step 5
Apply a Median filter (Filter> Noise> Median) with a Radius of 2 pixels.

Step 6
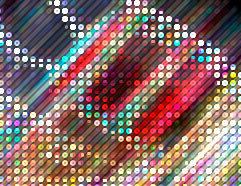
To reduce the size of the dots, we’ll use the Maximum filter (Filter> Other> Maximum) to enlarge the white areas. Use a Radius of 1 pixel.

Step 7
Invert (Image> Adjustments> Invert or Ctrl+I).

Step 8
Duplicate the top layer (Layer> Duplicate Layer or Ctrl+J) and change the blending mode to Screen.
Step 9
Apply a Find Edges filter (Filter> Stylize> Find Edges).
Step 10
Invert (Image> Adjustments> Invert or Ctrl+I).
Step 11
Duplicate the top layer twice (Layer> Duplicate Layer or Ctrl+J).
Step 12
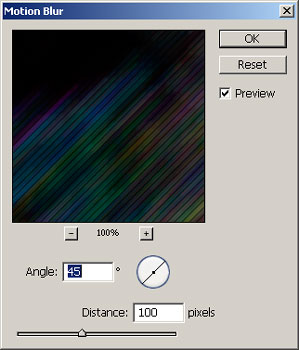
Activate the top layer and apply a Motion Blur filter (Filter> Blur> Motion Blur). Set the angle to 45º and the distance to 100 pixels.
Step 13
Apply an Auto Levels (Image> Adjustments> Auto Levels or Shift+Ctrl+L)
Step 14
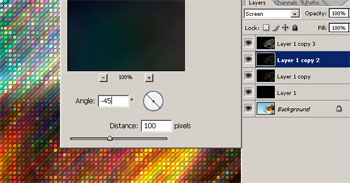
Now we’re going to do the same steps againusing a different Motion Blur angle on a different layer. Activate the layer below (Layer 1 copy 2) and apply a Motion Blur filter (Filter> Blur> Motion Blur). Simply type a "-" sign in front of the 45º and click OK.
Step 15
Apply an Auto Levels (Image> Adjustments> Auto Levels or Shift+Ctrl+L).
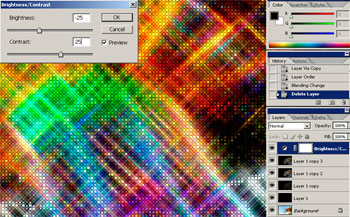
Step 16
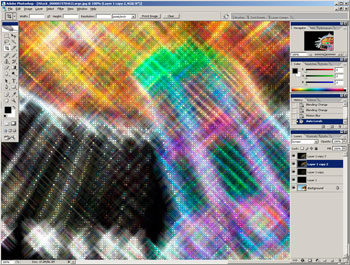
Add a Brightness/Contrast adjustment layer (Layer> New Adjustment Layer> Brightness/Contrast) and adjust the settings to get the results you want.
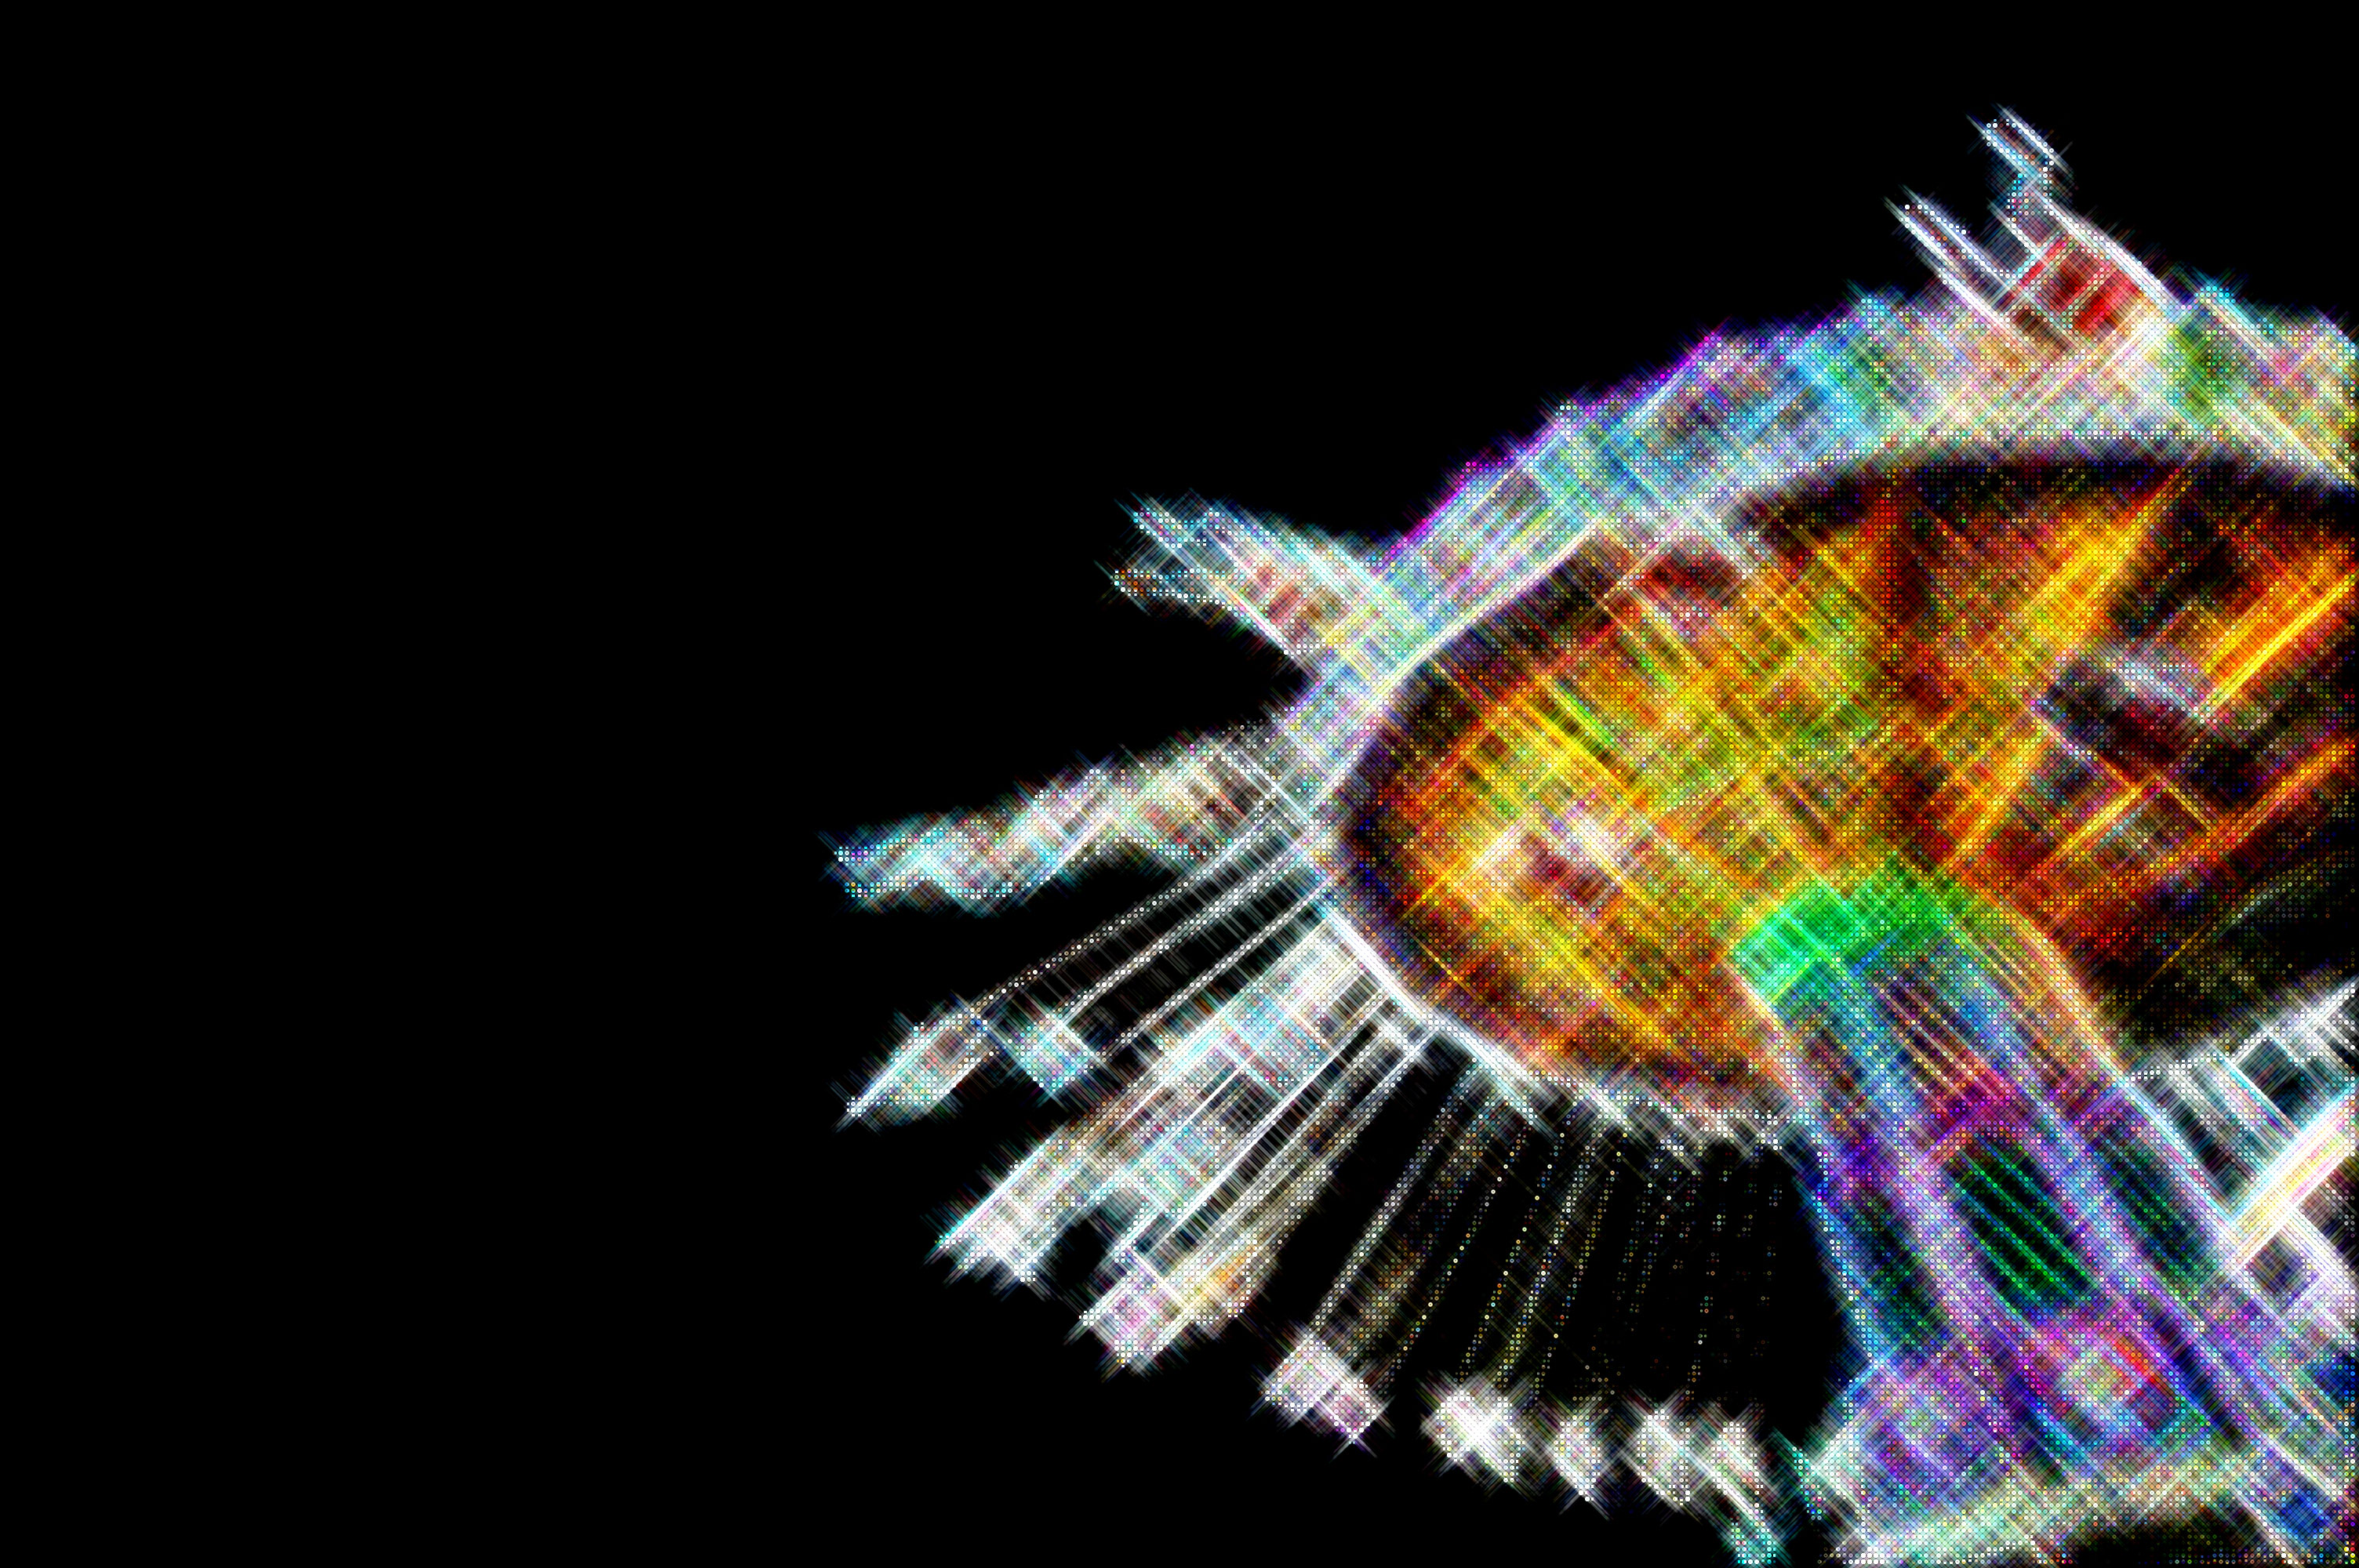
Final Results

Source: http://www.photoshoptutorials.ws
ConversionConversion EmoticonEmoticon